How to Shrink a Chart to Fit on a Page in Excel
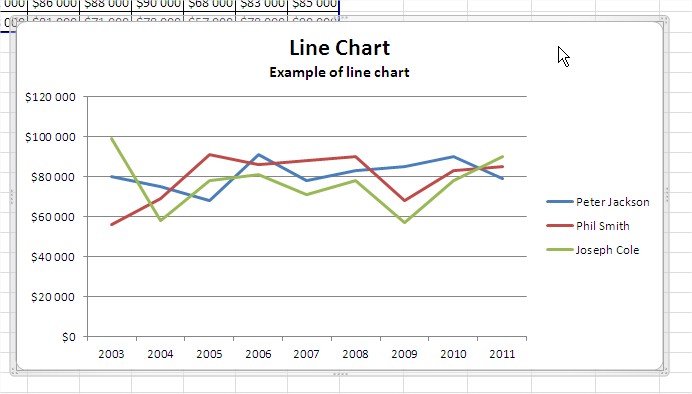
In this lesson, you will learn how to shrink your chart so that it fits on the page. When printing large Excel charts, you might encounter situations where the chart exceeds the page dimensions. While this can pose a printing challenge, Excel provides several methods to resize the chart to fit within a single page, often without significant loss of visual clarity.
Using the ribbon
One approach to resizing your chart involves using the Scale to Fit options on the ribbon.

After selecting the chart, navigate to the Page Layout tab.
Within the Scale to Fit group, you can adjust the Width and Height settings. Choosing 1 page for both Width and Height will force the chart to fit onto a single printed page.
Note that this method might distort the chart’s proportions if the original dimensions are significantly different from the page’s aspect ratio, so you may need to adjust the chart’s formatting afterward to maintain readability.
Changing the page settings
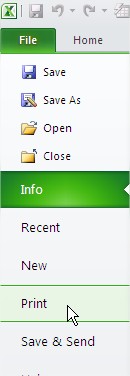
Alternatively, you can adjust the page scaling within the print settings. By navigating to the File tab and selecting Print, you’ll access the print backstage view.

Within the Scaling options, selecting Fit Sheet on One Page will scale the entire sheet, including the chart, to fit onto a single printed page.
This method scales everything on the sheet, not just the chart itself, so consider the impact on other content if present.


Leave a Reply