How to Make a Venn Diagram in Excel
Venn diagrams are powerful tools for visualizing relationships and overlaps in your data. Excel makes it surprisingly easy to create them! Follow the steps below to create a Venn Diagram.
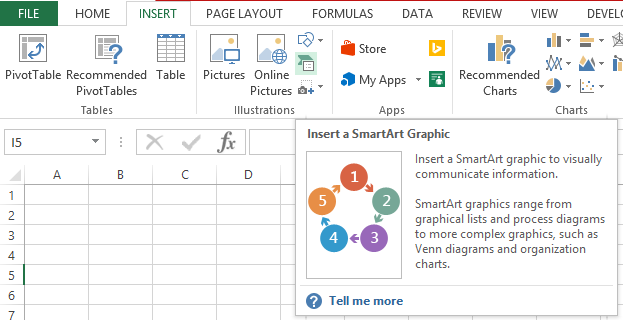
Insert a SmartArt Graphic
Launch Excel, click on Insert tab and in the Illustrations group select SmartArt.

Insert Venn diagram layout
In the Choose a SmartArt Graphic gallery, click Relationship, click a Venn diagram layout (such as Basic Venn), and then click OK.

The Venn diagram will appear.
Venn diagram formatting
Click on [Text] to add text to your Venn diagram.

To add text to the overlapping parts of the circle:
- On the Insert tab, in the Text group, click Text Box.
- Drag to draw a text box.
- Select the text box and type your text.
- Position the text box over the overlapping area of the circles.

The number of circles in a Venn diagram is limited by the options available in the “SmartArt” dialog box.
(optional) To add or delete new circles:
- Click the SmartArt graphic that you want to add another circle to.
- Click the existing circle that is located closest to where you want to add the new circle.
- Under SmartArt Tools, on the Design tab, in the Create Graphic group, click the arrow next to Add Shape.
Do one of the following:
- To insert a circle after the selected circle, that will overlap the selected circle, click Add Shape After.
- To insert a circle before the selected circle, that will overlap the selected circle, click Add Shape Before.
- To delete a circle from your Venn diagram, click the circle you want to delete, and then press DELETE
Note: To customize your Venn diagram use the Design tab.
Beyond adding or removing circles, you can customize the appearance of your Venn diagram using the formatting options available under the Format tab of the SmartArt Tools. This includes changing colors, outlines, effects, and text formatting to enhance the visual clarity and presentation of your diagram.
Try creating a Venn diagram in Excel and see how it can clarify your data.


Leave a Reply