Drawing Objects in Excel: Insert Shapes, Arrows & Text Boxes
To enhance your Excel worksheet, you can insert drawing objects such as shapes, arrows, or text boxes. Here’s a straightforward guide to inserting and manipulating drawing objects.
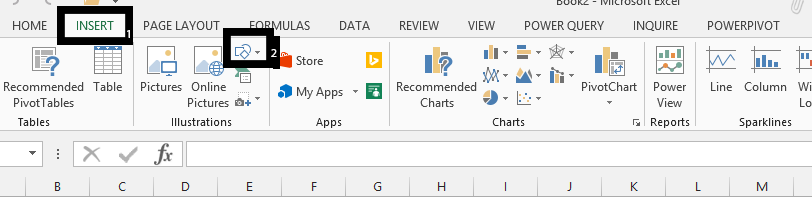
Inserting Drawing Objects
Click on the Insert tab in the Excel ribbon at the top of your Excel window.
In the Illustrations group, locate and click on the Shapes button.

Drawing Your Object
A gallery of shapes will appear. Select the shape you want to insert by clicking on it. Common options include rectangles, circles, arrows, and more.

To draw your chosen shape, click and hold the left mouse button, and then drag the cursor to create the object’s size and shape on your worksheet.

After creating the object, you can click and drag it to reposition it on the worksheet. Additionally, you can customize it further by changing its fill color, border color, text (if applicable), and other formatting options.
You can adjust the object’s size by clicking and dragging the resizing handles located at its edges or corners. To rotate the object, click and drag the circular handle at the top of the object.
For text-based objects like text boxes, you can double-click inside the object to add or edit text.
Once you’re satisfied with the object’s appearance and placement, you can click outside the object to finish. Your drawing object is now part of your Excel worksheet.


Leave a Reply