How to Write Vertically in Excel
Usually we are writing horizontally, but sometimes there is a need to rotate text vertically or at an angle. I will show you how to write vertically in an Excel file. We will type horizontally, as we normally do, and then we will use different options to rotate the data as per the requirements.
Such cell formatting might be needed to increase visibility or for sophisticated presentations that you may be making.
How to write horizontally?
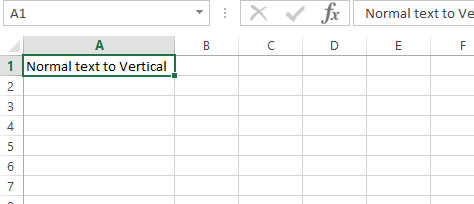
Write any text in cell A1 normally:

How to write vertically?
Then choose the option Home > Alignment (select Orientation or ab->) to rotate it vertically.

Select vertical text as shown below:

It will turn the text into the Vertical Text form as shown below:

Similarly, we can experiment with other options like:
Rotate text up
It will turn the text upside down, starting from below:

Rotate Text Down
It will turn the text upside down, starting from above:

Angle Clockwise
It will rotate the text at 45 degrees, as shown below:

Angle Counter Clockwise
It will rotate the text at 45 degrees counterclockwise, as shown below:

I have added all the types of text explained in the article. It will show all the text forms in different cells.

It’s important to differentiate text rotation from the Wrap Text feature. While rotation changes the orientation of the text within the cell, Wrap Text allows text to flow onto multiple lines within the cell, effectively increasing the cell’s height to accommodate the text. This is accessed through the Home tab > Alignment group > Wrap Text.


Leave a Reply