How to insert a check mark symbol?
In this Excel tutorial, you will learn how to insert the check mark symbol in Excel.
Adding check mark symbols can help mark tasks as completed and improve your spreadsheet’s look. There are a few ways to insert the check mark symbol into your spreadsheet.
Using the Symbol Dialog Box
This method involves using the Symbol dialog box to insert the check mark symbol into a cell in your spreadsheet.
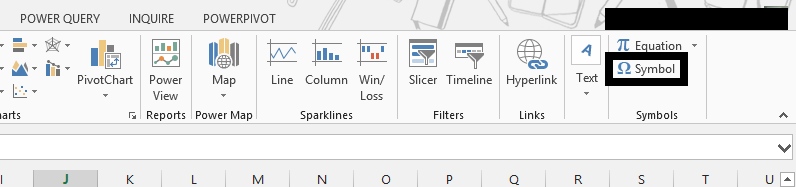
Navigate to the Insert tab on the ribbon. Click the Symbol button.

Change Font to Wingdings2 (or Marlett). Here you can find two different check symbols: check mark and the box check mark. You will find these checks in the third row.
If you’re not sure which font to use, you can scroll through the list of symbols until you find the check mark symbol, or you can search for it using the search box.

The character codes for them are 82 and 84.
There is also a possibility to insert a bold check mark and a bold box check mark. To insert one of these, change the font to Wingdings and scroll down to the last row.

The character codes for them are 252 and 254.
Using an Excel Font
You can just insert check mark symbols using a Font. Just change it to Wingdings2 and type uppercase P (SHIFT + P) for the check mark and uppercase R (SHIFT + R) for the box check mark.

Using Character Codes
You can insert check mark symbols in Excel by using the Character Map Windows application or character code. Just open Character Map, change the Font to Wingdings, find the check symbols, and copy them. Then you can paste them into your Excel spreadsheet.

Character codes for check marks are 0xFC for the check mark and 0xFE for the box check mark.
You can also use the CHAR function in Excel to insert checkmarks based on their decimal character codes. For example, =CHAR(252) will insert a bold checkmark (ü) if the cell’s font is set to Wingdings, and =CHAR(82) will insert a standard checkmark (✔) if the cell’s font is set to Wingdings 2.


Leave a Reply