How to Use List Box Control in Excel Vba
A List Box control in Excel VBA allows you to display a list of items in a box on a user form and let the user select one or more items from the list. Here’s how to use a List Box control in Excel VBA:
List of items
Begin from creating a list of items which you want to put into List Box.

Next select all items and name it. type the name into Name Box (such in the picture below) and press Enter.
Define names
Here you can learn how to define name.

Since now your items will name List.

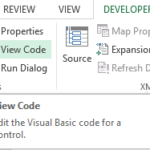
Go to the ribbon. Make sure that Develor tab is visible. Click it. Select Insert and click List Box control.
Developer tab
Here you can learn how to enable Developer tab.
To insert the List Box control, go to the Developer tab and click the “Insert” button. From the drop-down menu, select “List Box (ActiveX Control).” This will insert a List Box object into the worksheet.

Draw a List Box control within your worksheet. You can resize and position it as needed.

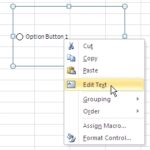
Right click your inserted List Box and select Format Control option.

Go to the Control tab. Into Input Range field type the name of your Name Range you prepared before.

I selected Multi for Selection Type. You can do it as well.
Ready List Box looks like in the picture below.

Tip: You can also create a Button. It may help you. For example this Button can add new elements to the List Box.
Roumeliotis
I love how your posts always leave me inspired and inspired.